Hang 3 Pictures Like a Pro: The Ideal Height
Did you know 75% of homeowners struggle with hanging pictures? This can make a wall look unbalanced. To fix this, knowing the right height and placement is key. By using simple tips and considering the room and pictures, you can create a beautiful display.
Finding the right spot for pictures is all about balance. A well-placed picture can make a room look better. But a bad placement can make it feel cramped. This guide will help you hang pictures perfectly, focusing on the ideal height for a balanced look.
Key Takeaways
- Understanding the standard rules for picture placement is crucial for a balanced display
- Considering the room’s dimensions and the type of pictures is essential for determining the ideal height
- A well-placed picture can elevate the entire space and reflect your personal style
- Following simple picture hanging tips can help you achieve a stunning wall display
- How high to hang 3 pictures depends on the room’s architecture and the artwork
- A picture placement guide can provide you with the necessary tools and expertise to hang pictures like a pro
Essential Tools and Materials for Picture Hanging
When hanging pictures, the right tools and materials are key. Measuring is a must, and a good tape measure and level are vital. They help ensure your pictures are straight and evenly spaced, whether you’re hanging one or many.
You’ll need a hammer, nails, and picture hooks to start. Depending on your wall, you might also need screws or anchors. A stud finder can give your pictures a professional look by finding the best hanging spot.
Must-Have Measuring Tools
- Tape measure
- Level
- Stud finder (optional)
Hardware and Hanging Supplies
- Nails
- Screws
- Picture hooks
- Anchors (optional)
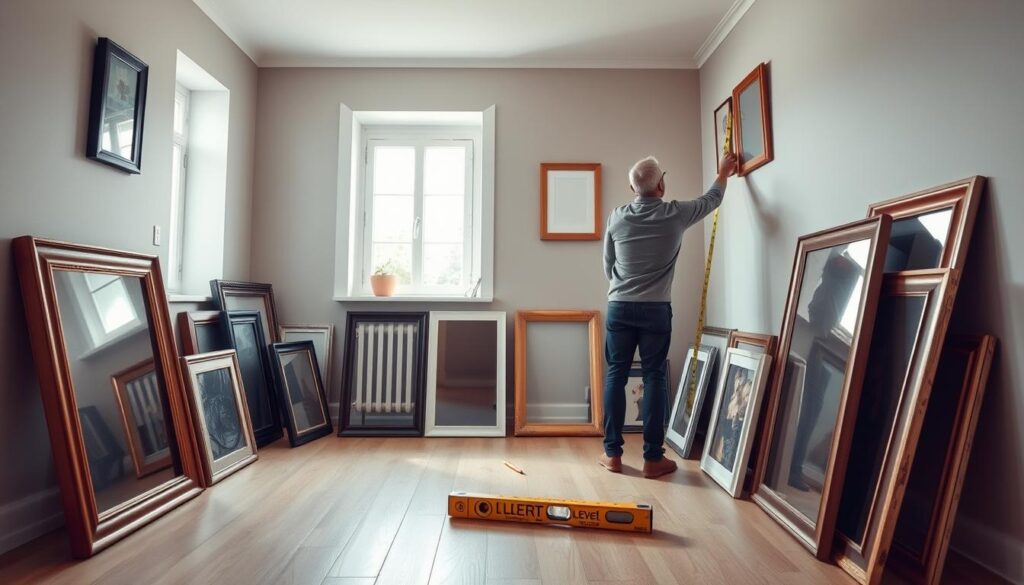
With the right tools, you can create a stunning gallery wall. Take your time and measure carefully. This way, your pictures will be perfectly hung, and you’ll enjoy them soon.
How High to Hang 3 Pictures: The Standard Rule
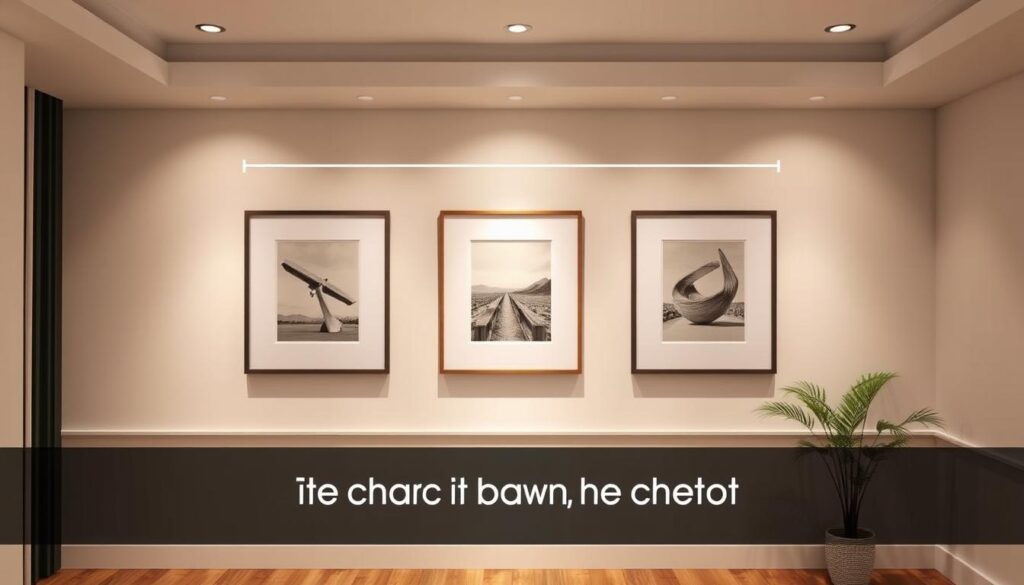
To find the best spot for your pictures, think about the average eye level. It’s about 57 inches from the floor. This height helps balance and harmony in the room. But, the perfect spot also depends on the room and the pictures you choose.
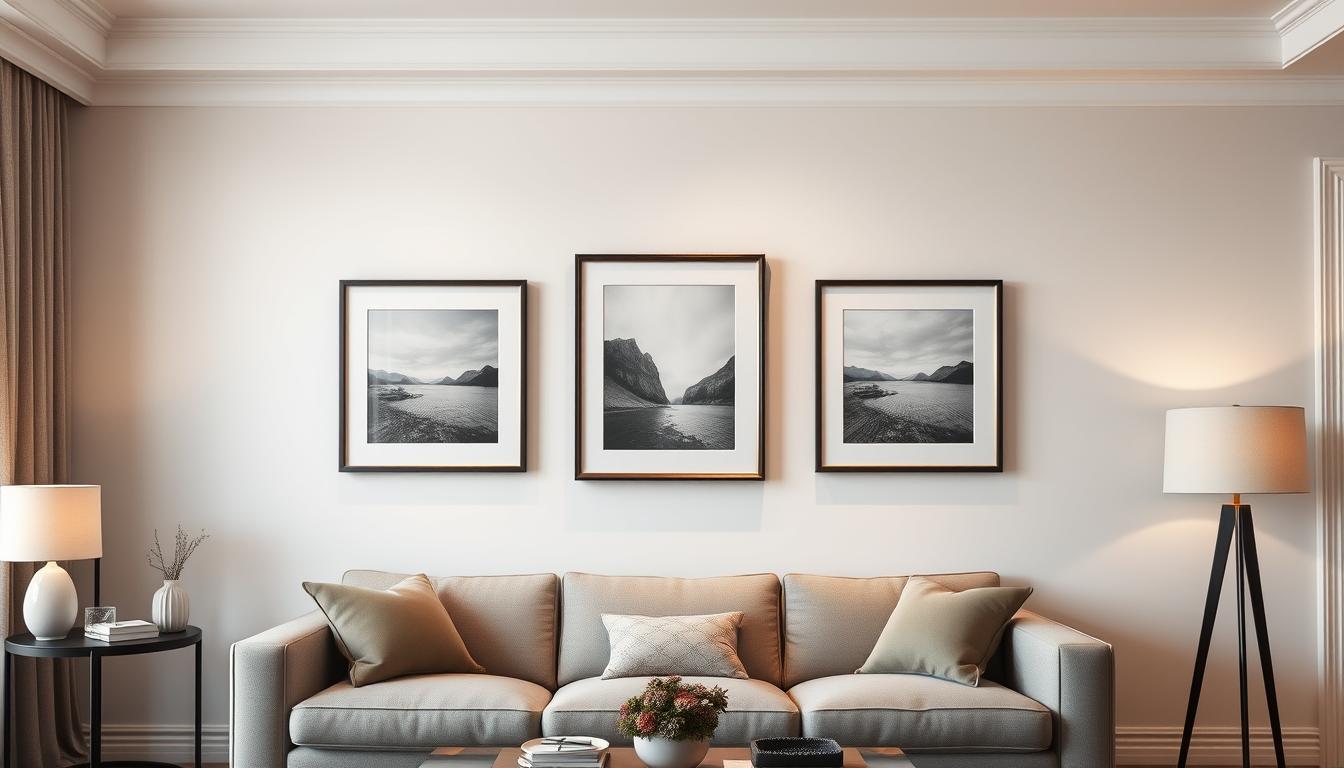
When picking a spot, think about how the pictures will look in the room. You want them to draw the eye to the room’s center. A good rule is to hang the picture’s center at 57-60 inches from the floor.
- Consider the size and shape of the room
- Think about the type of pictures you’re hanging
- Take into account the furniture and decor in the room
By following these tips and the standard rule, you can make a beautiful arrangement. It will enhance the room’s look.
Understanding Picture Arrangement Styles
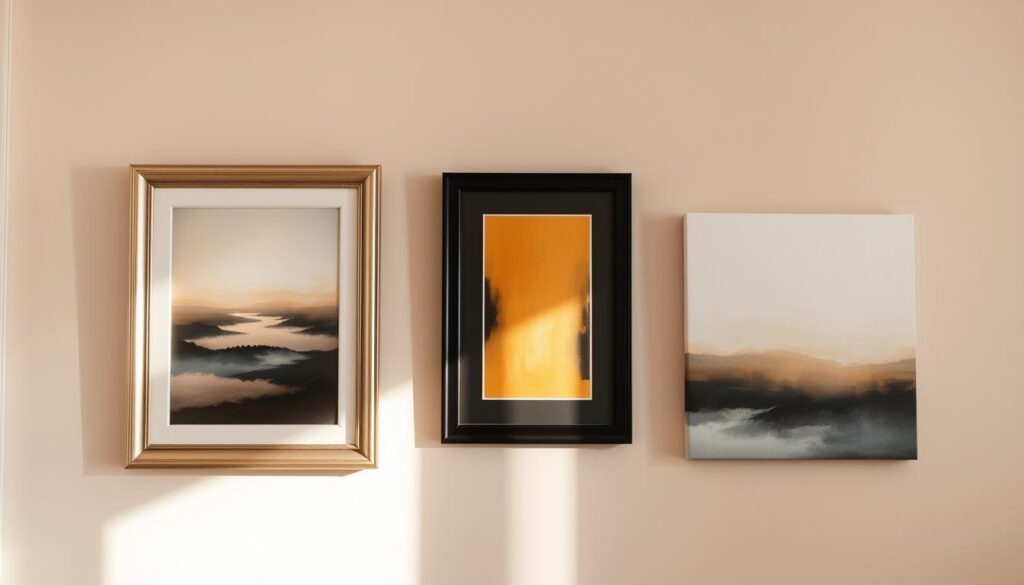
Choosing the right picture arrangement style is crucial for your wall decor. There are many styles to pick from, making it hard to decide. Let’s look at some popular styles that can improve your wall decor.
Here are a few popular options to consider:
- Vertical stack arrangements: perfect for creating a sense of height and drama in a room
- Horizontal row layouts: great for creating a sense of width and balance
- Triangle configuration options: ideal for adding visual interest and depth to your wall decor ideas
By considering these tips, you can create a unique and visually appealing arrangement. It will reflect your personal style and complement your wall decor ideas.
Remember, the key to creating a beautiful picture arrangement is to experiment and have fun. Don’t be afraid to try out new tips and ideas until you find the perfect combination that works for you.
Measuring and Marking Your Wall Space
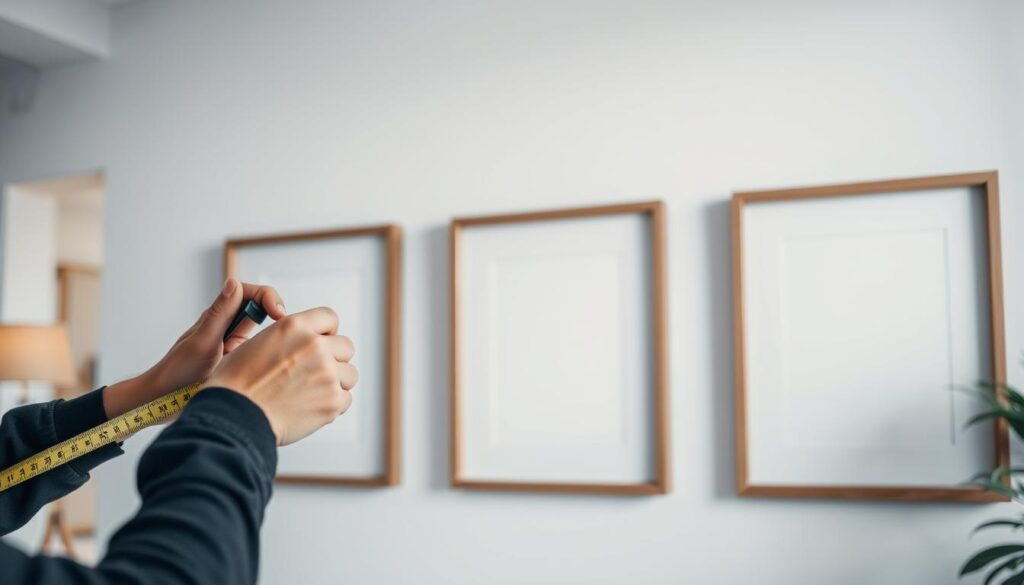
Measuring for picture hanging is all about accuracy. You need to measure the width and height of each picture. Also, measure the space between them. This step is vital for a balanced and appealing arrangement.
First, get your measuring tools ready. You’ll need a tape measure and a level. Measure each picture’s dimensions and mark the wall with a pencil. Remember to use a level to keep your marks straight and level.
Here are some tips for measuring and marking your wall:
- Use a template to help you visualize the arrangement of your pictures
- Measure the width of your pictures, including the frame
- Consider the space between each picture, and adjust as needed
- Use a level to ensure your marks are straight and level
By following these tips, you can create a professional-looking arrangement. Take your time and be patient. Measuring for picture hanging is a key step in the process.
Adjusting Heights for Different Room Types
The perfect height for hanging pictures changes with the room type. In a living room, pictures hung a bit lower can make the space feel cozy. For a dining room, pictures hung higher can add elegance. It’s key to adjust picture heights to match the room for a great look.
Think about the room’s purpose and furniture when setting picture heights. For example, in a living room, pictures above a sofa or armchair balance the space. In a dining room, pictures above a sideboard or buffet add harmony. Remember, the height of your pictures should match the look you want.
Living Room Picture Placement
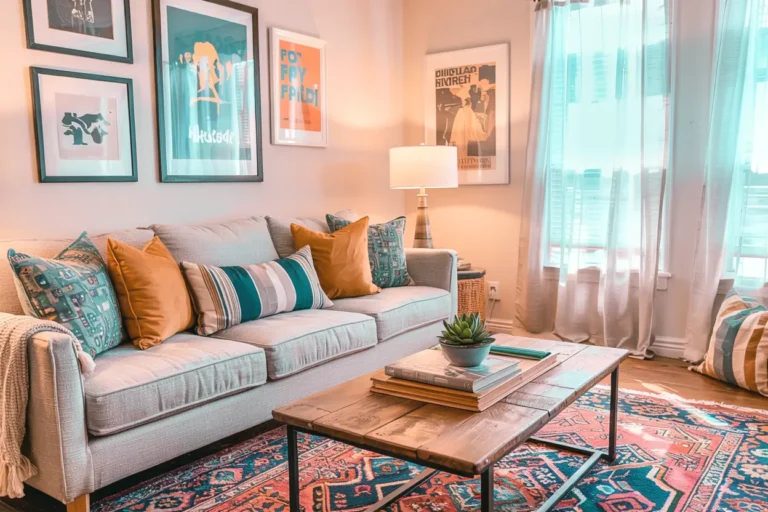
In a living room, pictures should be hung to create a cozy feel. Hang them above a sofa or a console table for this effect.
Dining Room Considerations
Dining rooms aim for elegance. Hang pictures to match the room’s decor and furniture, like above a sideboard or buffet.
Bedroom and Hallway Heights
Bedrooms and hallways benefit from balanced picture heights. Hang pictures above a bed or a console table for a calm feel.
By following these tips, you can make your pictures a beautiful part of your home. Always think about the height of your pictures and use a guide for a balanced display.
| Room Type | Picture Height | Placement Suggestions |
|---|---|---|
| Living Room | Lower height | Above a sofa or armchair |
| Dining Room | Higher height | Above a sideboard or buffet |
| Bedroom and Hallway | Balance and harmony | Above a bed or console table |
Professional Tips for Perfect Picture Alignment
To get perfect picture alignment, follow these tips. First, use a level to make sure your pictures are straight. Then, create a template to see how your pictures will look together. Adjust as needed for the best look.
For the best picture placement, think about symmetry and balance. Here are some tips to help:
- Use a mix of frame styles and sizes to add visual interest
- Experiment with different arrangements to find the perfect balance
- Consider the room’s architecture and furniture when deciding on picture placement

