How to Paint Kitchen Cabinets: A Step-by-Step Guide
Thinking of giving your kitchen a fresh, modern look without breaking the bank? Painting your cabinets is a brilliant, budget-friendly solution that can transform the heart of your home. With the right tools, materials, and a bit of patience, you can breathe new life into tired cabinets, making them look as good as new. But where do you even start? Don’t worry this guide will walk you through every step, from prepping your workspace to applying that final, flawless coat of paint. Let’s dive in!
Introduction to Painting Kitchen Cabinets: A Beginner’s Guide to a Pro-Level Finish
Painting kitchen cabinets might sound daunting, but with the right approach, it’s entirely doable—even for beginners. This step-by-step guide is designed to help you achieve professional-looking results, whether you’re aiming for a subtle refresh or a complete kitchen overhaul. By the end, you’ll have the skills and confidence to tackle this project head-on, saving you the cost of brand-new cabinets while giving your kitchen a stunning makeover.
Key Takeaways: What You’ll Learn
-
Step-by-step instructions for painting kitchen cabinets like a pro
-
The best tools and materials to ensure a smooth, durable finish
-
Why surface preparation is the secret to a flawless result
-
Tips for choosing the perfect paint for your cabinets
-
How to avoid common pitfalls and achieve a professional-grade finish
-
Maintenance tips to keep your cabinets looking fresh for years
Essential Preparation: Setting the Stage for Success
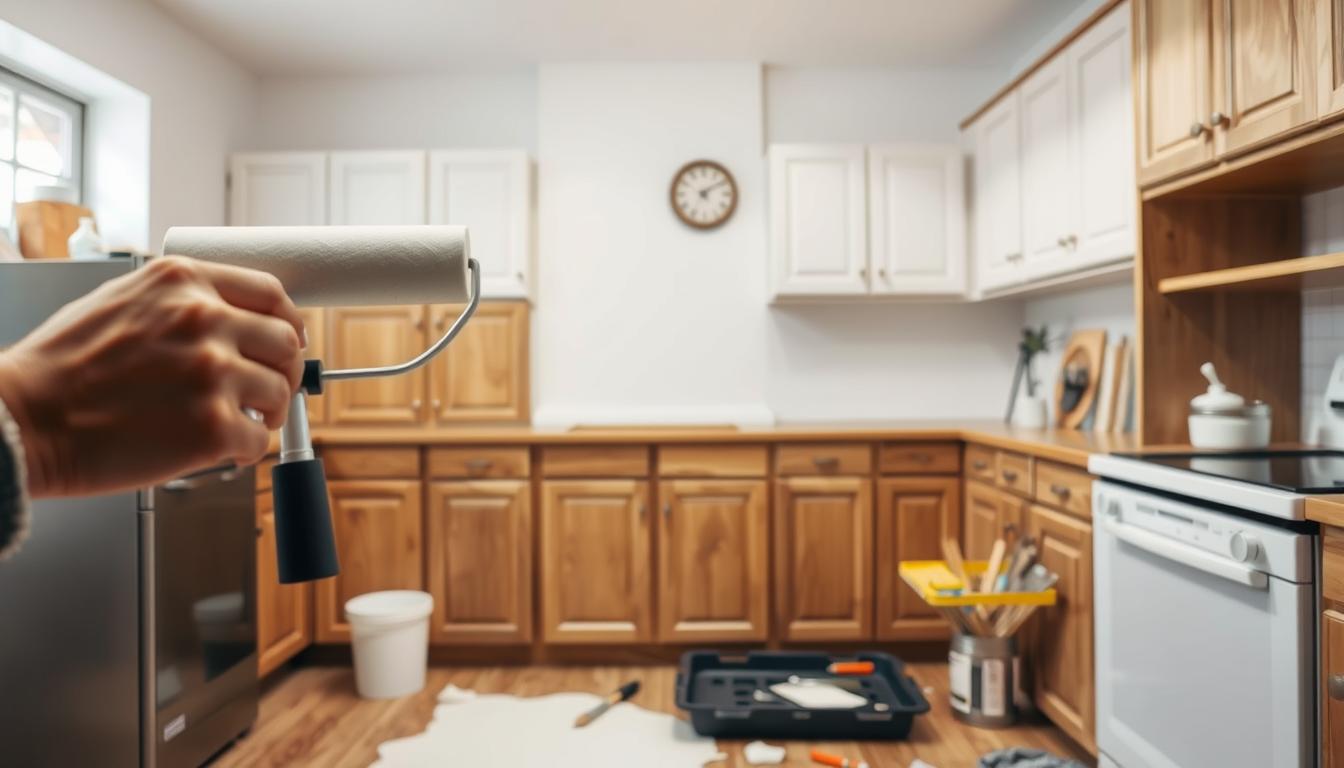
Before you even think about picking up a paintbrush, preparation is key. A well-organized workspace and properly prepped cabinets are the foundation of a successful project. Start by clearing out your cabinets and removing all hardware doors, knobs, hinges, and handles. Label each piece to avoid confusion during reassembly. Trust me, this small step will save you a headache later.
Next, give your cabinets a thorough cleaning to remove grease, grime, and dust. A mix of warm water and mild detergent usually does the trick. Once they’re clean, sand the surfaces lightly to create a rough texture that helps the paint adhere better. Don’t forget to fill in any dents or scratches with wood filler for a smooth, even finish.
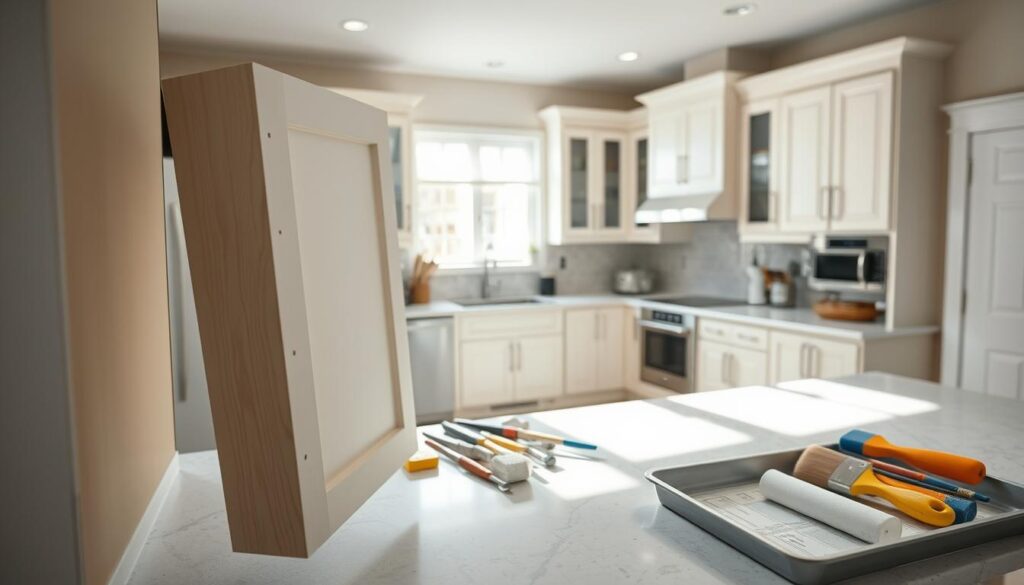
Pro Tip: Cover your floors, countertops, and appliances with drop cloths or plastic sheets to protect them from paint splatters. Remove outlet covers and switch plates to avoid getting paint where it doesn’t belong.
Tools and Materials: What You’ll Need
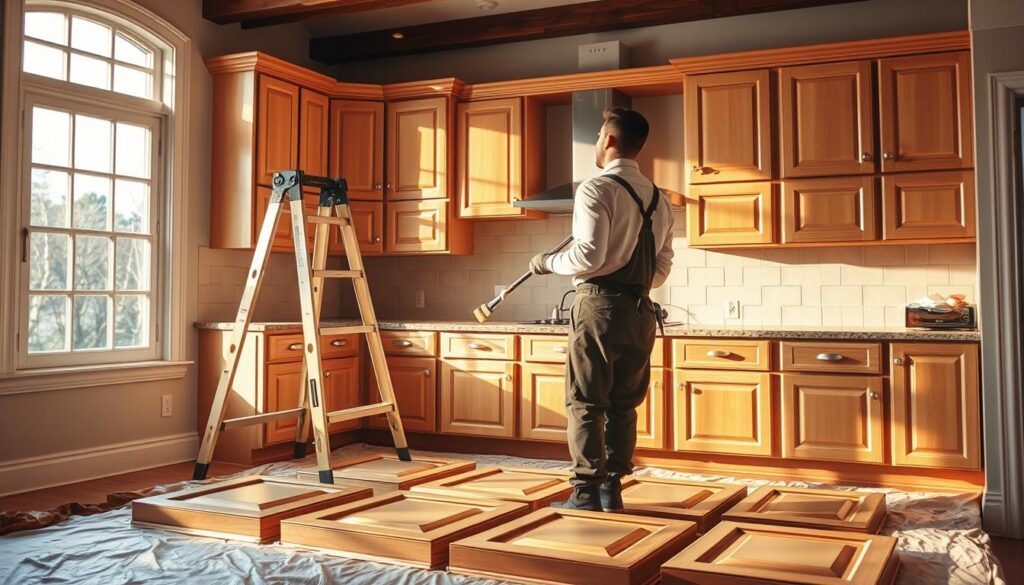
To achieve a professional-looking finish, you’ll need the right tools and materials. Here’s a checklist to get you started
-
Sandpaper (medium and fine grit)
-
Primer (specifically designed for cabinets)
-
Paint (semi-gloss or high-gloss for durability)
-
Paintbrushes (angled brushes work best for edges) or a foam roller
-
Paint sprayer (optional, for a smoother finish)
-
Drop cloths or plastic sheeting
-
Wood filler and a putty knife
-
Tack cloth for dust removal
Investing in high-quality materials will pay off in the long run, ensuring your cabinets look great and stand up to daily wear and tear.
Choosing the Right Paint: Oil-Based vs. Water-Based
The type of paint you choose can make or break your project. Here’s a quick breakdown of your options:
-
Oil-Based Paints: Known for their durability and smooth finish, oil-based paints are resistant to scratches and stains. However, they take longer to dry and require mineral spirits for cleanup.
-
Water-Based Paints: These dry faster, are easier to clean up (just soap and water!), and have fewer fumes. While they may not be as durable as oil-based paints, modern formulas have come a long way in terms of longevity.
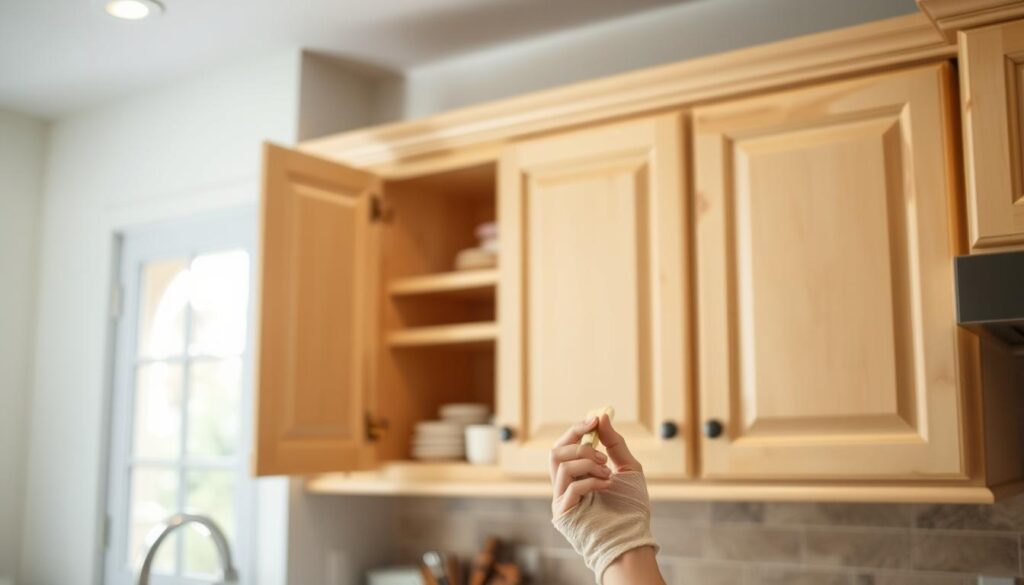
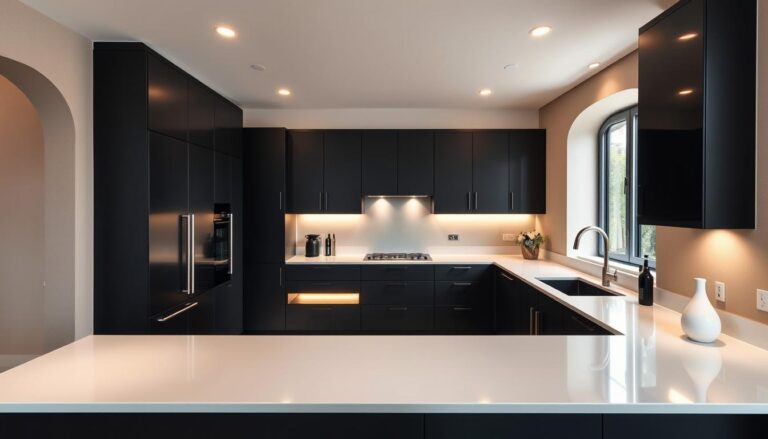
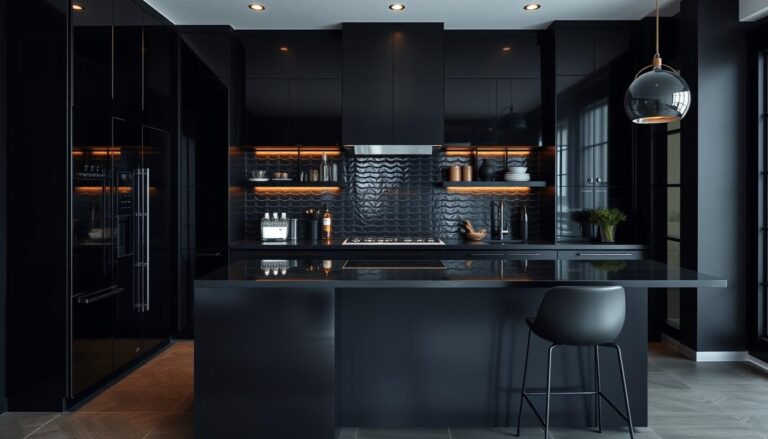
When selecting a color, consider the overall aesthetic of your kitchen. Neutral tones like white, gray, or beige are timeless, while bold colors like navy or emerald can make a striking statement. Don’t forget to test your chosen color in different lighting to ensure it’s the perfect fit.
Surface Preparation: The Secret to a Flawless Finish
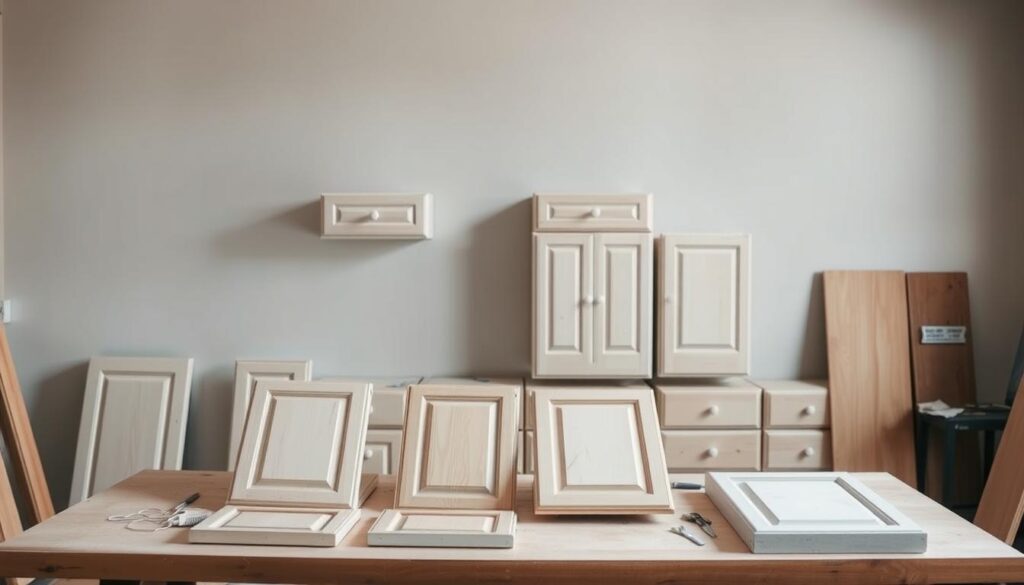
Proper surface preparation is the unsung hero of any painting project. Skipping this step can lead to peeling, chipping, or an uneven finish. Here’s how to do it right:
-
Sand the Cabinets: Use medium-grit sandpaper to remove the existing finish, then switch to fine-grit for a smooth surface.
-
Fill Imperfections: Apply wood filler to any dents, scratches, or holes, and sand again once it’s dry.
-
Clean Thoroughly: Wipe down the cabinets with a tack cloth to remove all dust and debris.
-
Prime: Apply a high-quality primer to ensure the paint adheres properly and lasts for years.
Painting Like a Pro: Step-by-Step Instructions
Now for the fun part painting! Follow these steps for a professional-grade finish:

-
Apply Primer: Use a brush or roller to apply an even coat of primer. Let it dry completely.
-
First Coat of Paint: Start with the cabinet frames, using smooth, even strokes. For doors, lay them flat to avoid drips.
-
Light Sanding: Once the first coat is dry, lightly sand the surface with fine-grit sandpaper to remove any imperfections.
-
Second Coat: Apply a second coat of paint for full coverage and a polished look.
-
Reassemble: Once everything is dry, reattach the doors and hardware.
Common Mistakes to Avoid
Even seasoned DIYers can make mistakes. Here are some pitfalls to watch out for:
-
Skipping Prep Work: Rushing through cleaning and sanding will result in a subpar finish.
-
Applying Too Much Paint: Thick coats can lead to drips and uneven coverage.
-
Ignoring Drying Times: Patience is key—allow each coat to dry fully before moving on.
-
Painting in Poor Conditions: High humidity or extreme temperatures can affect the paint’s drying process.
Maintaining Your Newly Painted Cabinets
To keep your cabinets looking fresh, clean them regularly with a mild soap and water solution. Avoid abrasive cleaners that can damage the finish. For added protection, consider applying a clear topcoat or polyurethane sealant. Address scratches or chips promptly to prevent further damage “how to paint kitchen cabinets”.
Conclusion: A Kitchen Transformed
By following this guide, you’ve not only saved money but also created a kitchen that reflects your personal style. Painting your cabinets is a rewarding project that can dramatically enhance your home’s aesthetic and value. So step back, admire your handiwork, and enjoy your beautifully transformed kitchen space!

