Stylish Waterfall Kitchen Island Ideas for Modern Homes
Did you know modern homes are embracing bold design statements to elevate their aesthetic appeal? One trend making waves is the waterfall kitchen island—a luxurious yet functional centerpiece that transforms any space.
In today’s design landscape, blending style with practicality is key. A waterfall island creates a seamless flow between form and function, making it the heart of your home. Whether renovating or building from scratch, this feature offers endless possibilities.
From sleek materials like quartz and marble to innovative installation techniques, the waterfall island trend inspires creativity. Let’s dive into how this design can redefine your modern kitchen.
Key Takeaways
- A waterfall kitchen island is a bold design statement for modern homes.
- It combines luxury with practicality, enhancing your space’s functionality.
- This feature can elevate the overall aesthetic of your home.
- Modern kitchen trends inspire unique and innovative styling approaches.
- Choosing the right materials and design ensures a cohesive look.
Embracing the Trend: Modern Kitchen Island Designs
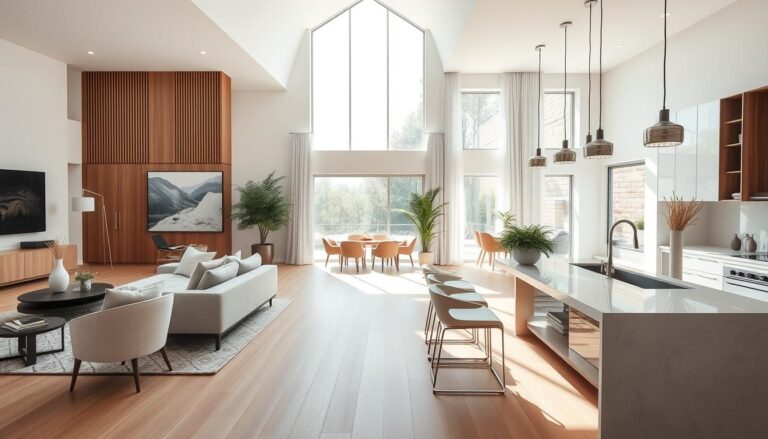
Transform your space with cutting-edge designs that marry style and utility. Modern islands focus on clean lines, minimalism, and smart storage solutions. Unlike traditional designs, they incorporate materials like quartz or marble for a touch of elegance.
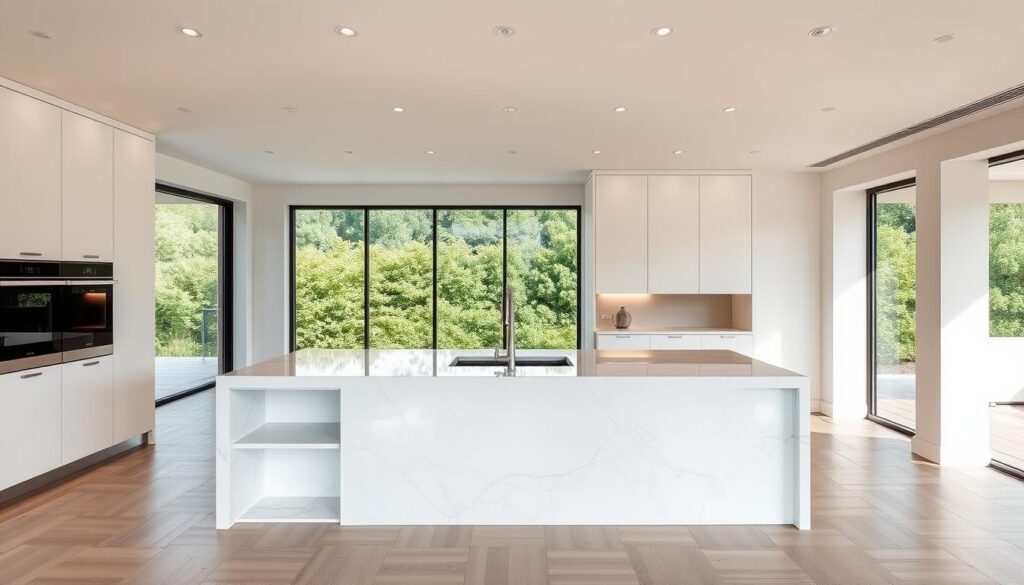
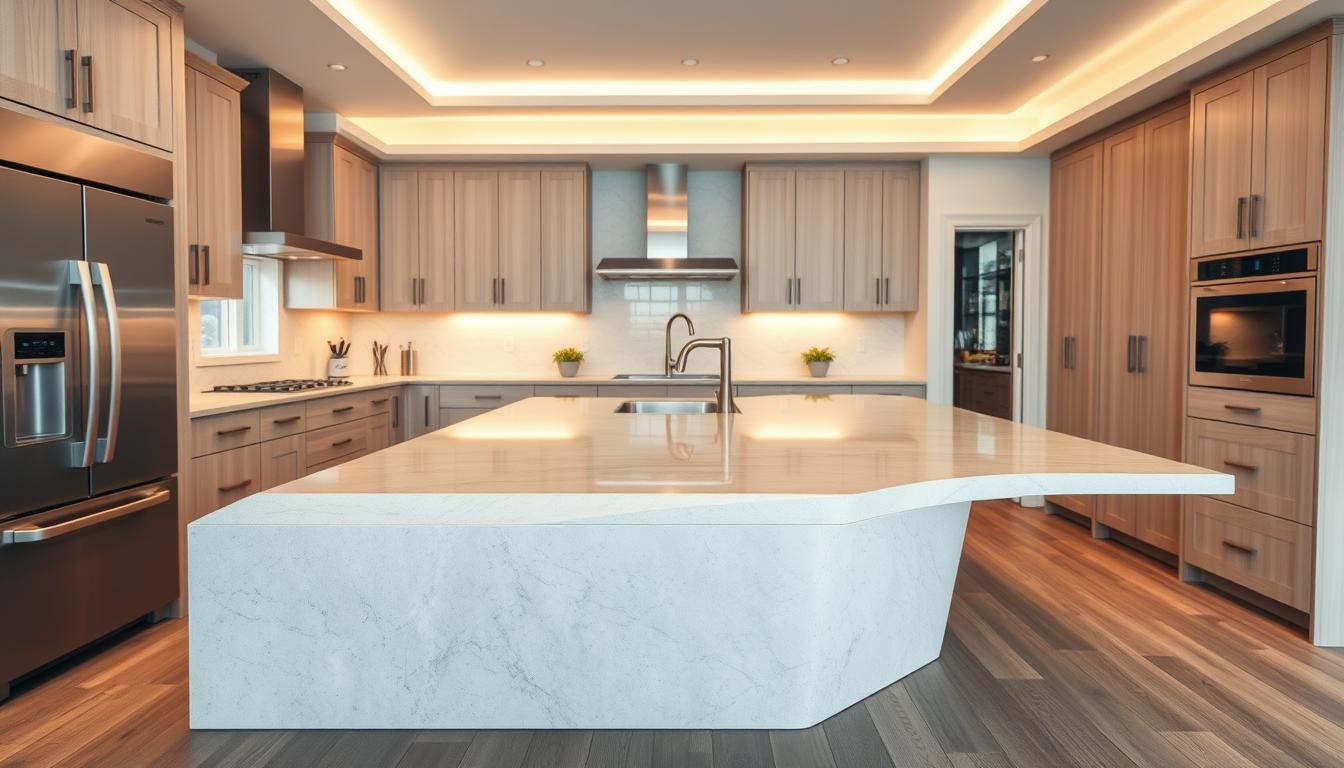
The dramatic impact of waterfall countertops lies in their cascading effect, where the countertop material flows seamlessly down the sides. This design not only updates your space but also protects edges from wear and tear, making it ideal for busy households.
| Feature | Traditional Islands | Modern Islands |
|---|---|---|
| Design | Ornate, bulky | Sleek, minimalist |
| Materials | Wood, laminate | Quartz, marble |
| Functionality | Basic storage | Smart storage solutions |
Exploring the Waterfall Kitchen Island Concept
A waterfall kitchen island is more than a trend—it’s a statement of modern elegance. This design extends the countertop material down the sides, creating a fluid connection that catches the eye.
Contrary to popular belief, this style isn’t limited to large spaces. It adapts beautifully to compact areas, adding sophistication while protecting edges. Homeowners across the U.S. are embracing this design for its versatility and visual impact.
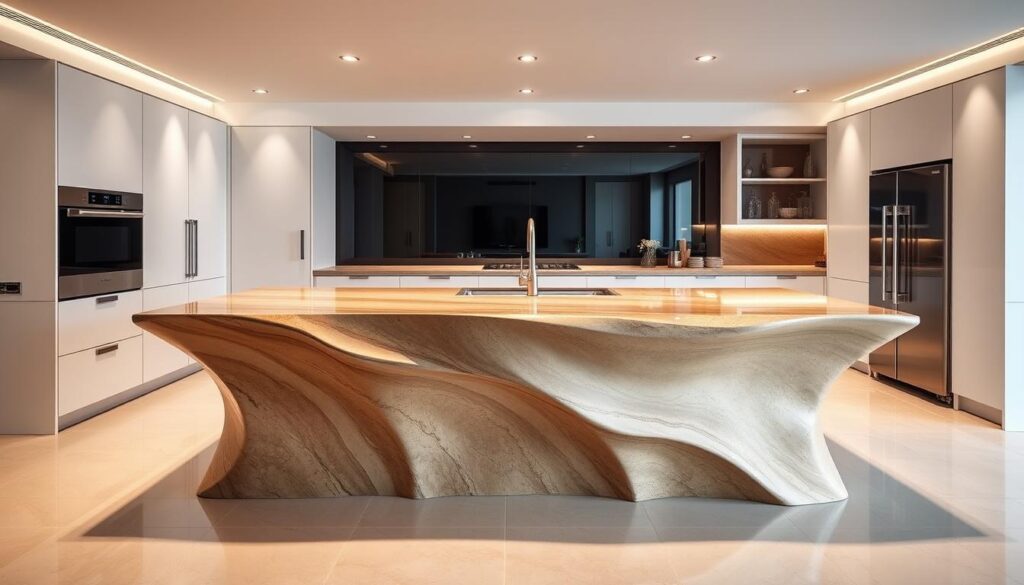
Here’s a quick comparison to help you understand its uniqueness:
| Aspect | Traditional Design | Waterfall Design |
|---|---|---|
| Visual Appeal | Basic, functional | Luxurious, eye-catching |
| Durability | Edges prone to damage | Protected edges, long-lasting |
| Space Adaptability | Limited to larger areas | Works in any size space |
As you consider this design, think about the materials and fabrication options. These elements play a crucial role in achieving the perfect look. Stay tuned for more insights in the next sections.
Material Selection: Stone, Quartz, and Beyond
Choosing the right material is crucial for achieving the perfect look. Natural stone, like marble or granite, offers timeless beauty but requires maintenance. Engineered quartz, on the other hand, is durable, low-maintenance, and available in a range of colors.
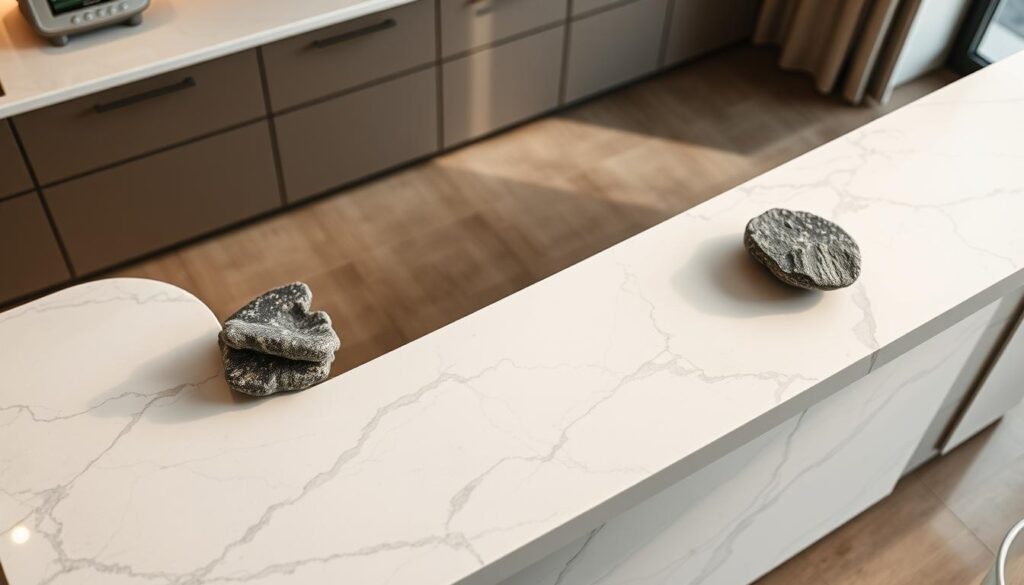
When planning a waterfall edge, you’ll need extra material. This ensures a seamless flow from the countertop to the sides. The choice of material also impacts the overall design. For example, bold veining in marble creates a dramatic effect, while subtle patterns in quartz offer a modern look.
- Stone: Timeless, unique patterns, requires maintenance.
- Quartz: Durable, low-maintenance, versatile colors.
- Granite: Natural beauty, heat-resistant, needs sealing.
Consider your design goals when selecting a material. A cohesive look enhances the overall aesthetic, while durability ensures long-term satisfaction. Whether you prefer the classic appeal of stone or the modern versatility of quartz, the right choice transforms your space.
Material Selection: (Continued) Pros and Cons & Natural Veins
When selecting the perfect countertop material, it’s essential to weigh both aesthetics and practicality. Each option comes with its own set of advantages and challenges, making it crucial to choose wisely.
Natural stone, like marble or granite, offers timeless beauty with unique patterns. However, it requires regular maintenance to prevent stains and scratches. Engineered quartz, on the other hand, is durable and low-maintenance, making it a popular choice for modern designs.
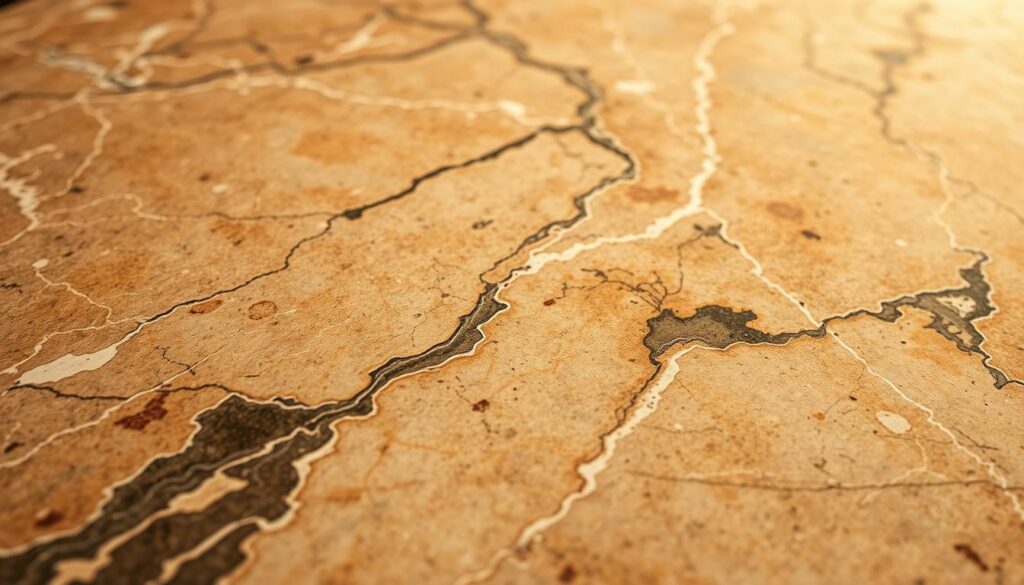
One of the most striking features of natural stone is its vein patterns. Selecting a slab with continuous, natural veins ensures a seamless look. This is especially important for waterfall edges, where the material flows from the countertop to the sides.
However, slight imperfections in the slab can affect the overall design. Minor cracks or color variations may disrupt the visual flow. It’s essential to inspect the material carefully before making a decision.
- Natural Stone: Unique patterns, requires maintenance.
- Engineered Quartz: Durable, low-maintenance, versatile.
- Granite: Heat-resistant, natural beauty, needs sealing.
Balancing aesthetics and functionality is key. While natural stone offers unparalleled beauty, engineered quartz provides practicality. Consider your lifestyle and design goals when choosing the right countertop material.
In the next section, we’ll explore techniques for creating a continuous waterfall edge, ensuring your design is both stunning and functional.
Designing a Seamless Waterfall Edge
Crafting a flawless waterfall edge demands precision. Techniques like mitered cuts and CNC machining ensure clean, angled transitions. Professional installation is key, but DIY enthusiasts can achieve stunning results with patience and the right tools.
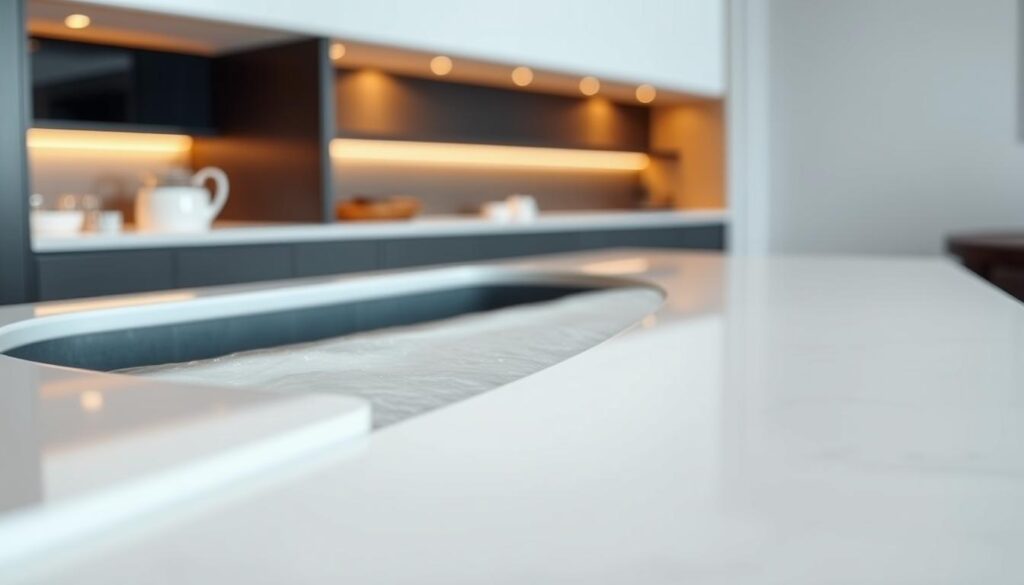
Techniques for Achieving a Continuous Flow
To get a smooth look, start with exact measurements. Use a miter saw for clean cuts that fit perfectly. Make sure the edge material matches the countertop in color and pattern for a unified look.
Professionals often use CNC machines for exact cuts. These tools help avoid chipping and ensure a smooth transition. DIY folks need patience and the right tools.
Installation Best Practices and Common Pitfalls
Installing correctly is key for lasting results. Use top-notch adhesives to stick the edge in place and avoid gaps. Let it dry fully for a strong bond.
Mistakes like rushing or using the wrong tools can cause problems. These can lead to misalignment or damage. Double-check your measurements and take your time to avoid costly fixes.
| Step | Tool | Purpose |
|---|---|---|
| Measurement | Tape Measure | Ensure accurate dimensions |
| Cutting | Miter Saw | Create precise angles |
| Installation | Adhesive | Secure the edge |
For ambitious homeowners, DIY solutions are possible. With the right tools and careful planning, you can achieve a professional-looking waterfall edge that transforms your space.
DIY Guide: Building Your Own Modern Kitchen Island
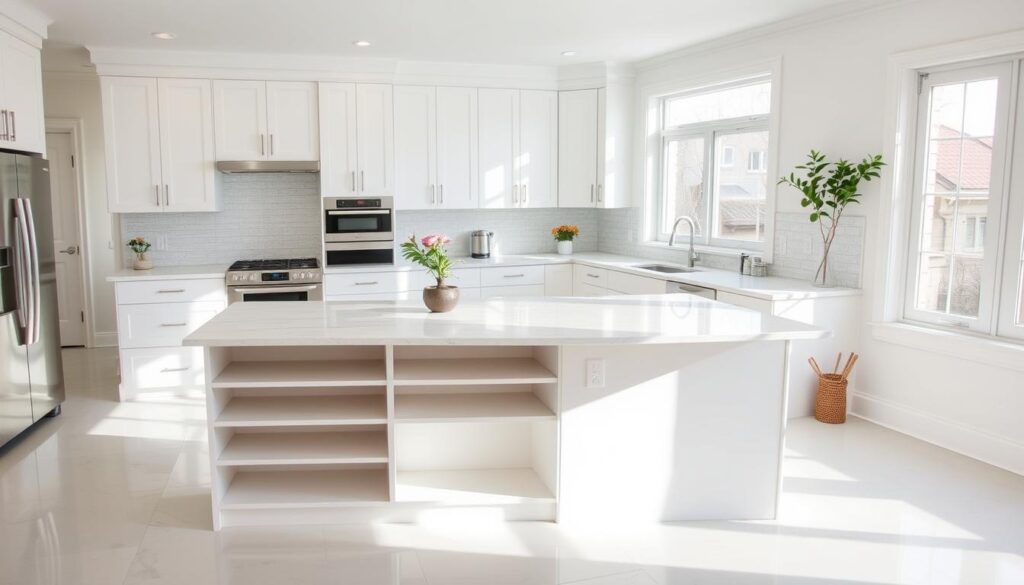
Building your own waterfall island is a rewarding project. Start with cabinet units for the base, wood planks for framing, and tools like a miter saw and drill. Step-by-step assembly ensures a polished finish, while decorative elements like trim or paint add a custom touch.
Essential Tools and Materials You Will Need
To get started, gather the following items:
- Cabinet units for the base structure.
- Wood planks for framing and support.
- Measuring tape, level, and drill for precision.
- Screws, brackets, and adhesive for secure assembly.
- Optional decorative elements like trim or paint.
Choosing the right cabinet and wood ensures durability and a polished look. Consider your design goals when selecting materials.
Step-by-Step Assembly and Framing Tips
First, measure your space to figure out the base size. Use a level to make sure the surface is even. Start by putting together the cabinet units, securing them with screws and brackets.
Then, frame the structure with wood planks. Drill pilot holes to avoid splitting the material. Attach the frame to the base for extra stability.
Finally, square the installation for long-term stability. This step is crucial for a professional finish. Double-check measurements and alignment carefully.
For a custom touch, add decorative trim or paint. This option lets you personalize the design to fit your home’s style.
With these tips, you’ll have a functional and stylish centerpiece. Happy building!
Crafting the Marble and Quartz Look
Achieve a luxurious marble finish with epoxy techniques. Mix pigments to create veining patterns, and layer for depth. Alternatively, opt for quartz with smooth or leathered finishes for a modern, durable surface.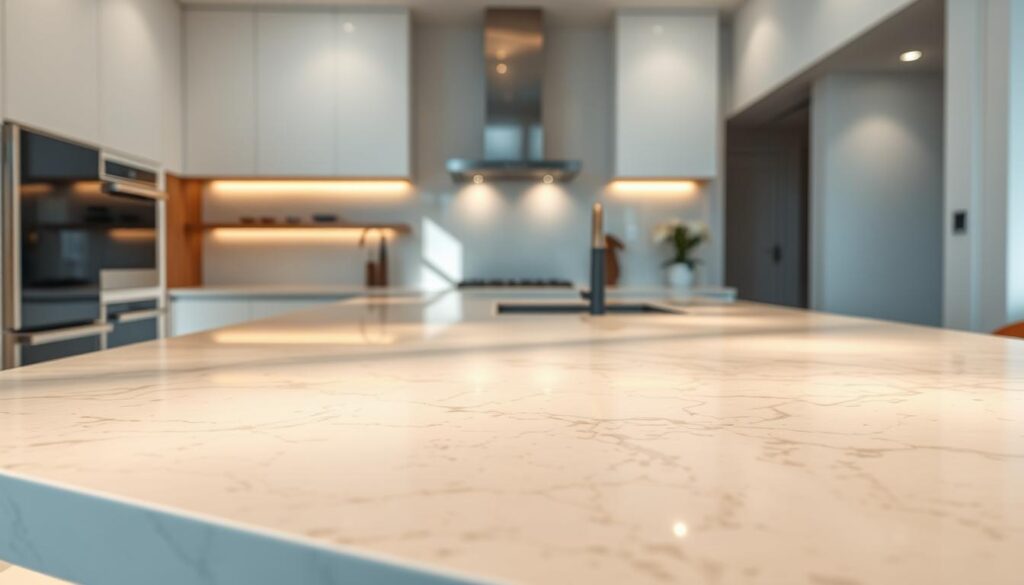
Techniques for Using Epoxy to Create an Authentic Marble Finish
Epoxy is versatile and can replicate the effect of natural marble. Begin by picking a base color that fits your design. Mix the epoxy with pigments to create veining patterns, then apply it in layers for depth.
For a realistic finish, use a feathering tool to blend the veins seamlessly. Let each layer dry before adding the next. This method ensures a polished, authentic look that rivals natural stone.
Comparing Smooth Versus Leathered Countertop Finishes
When choosing a finish, think about the texture. A smooth surface offers a classic, polished look that highlights the color and veining. It’s easy to clean but may show scratches more easily.
Leathered finishes, on the other hand, provide a matte texture with a subtle sheen. This option is durable and hides imperfections well. Both finishes can enhance the marble effect, so choose based on your lifestyle and design preferences.
Maintaining your countertop is key to preserving its beauty. Regular cleaning with a mild detergent and avoiding harsh chemicals will keep the look fresh. With the right care, your epoxy or quartz countertop can remain a stunning centerpiece for years to come.
Countertop Details: Enhancing with Custom Finishes
Custom finishes can turn a simple countertop into a standout feature in your home. By focusing on texture and edge profiles, you can add unique character to your space. These details not only enhance aesthetics but also contribute to the overall functionality of your design.
Choosing the Right Texture and Edge Profile

The texture of your countertop plays a big role in its visual appeal. Smooth finishes offer a classic, polished look, while leathered textures provide a modern, matte surface. Each option has its own charm and practical benefits.
Edge profiles, on the other hand, add a subtle yet impactful detail. From beveled to bullnose edges, the right profile can accentuate the countertop’s design. These features work together to create a cohesive and stylish look.
Here’s a quick comparison of popular textures and edge profiles:
| Texture | Edge Profile | Best For |
|---|---|---|
| Smooth | Beveled | Classic, polished designs |
| Leathered | Bullnose | Modern, matte finishes |
| Honed | Ogee | Luxurious, detailed looks |
When picking finishes, think about your space’s design. A smooth surface fits well with simple styles. On the other hand, a leathered texture suits modern looks. The right mix of texture and edge can make your countertop stand out.
For a perfect finish, use top-notch brushes and fillers. These tools help you achieve a professional look, even if you’re doing it yourself. It’s important to balance beauty with function in your design.
Adding these details to your layout needs careful planning. Think about how the countertop will fit with other room elements. With the right plan, you can create a stylish and cohesive space.
Integrating the Island into Your Home Layout
A well-planned layout ensures your island complements the surrounding space. Position it to enhance traffic flow and balance open areas with functional zones. Thoughtful placement makes the island a focal point while maintaining practicality.

Start by looking at your space. Place the island to match existing features, like cabinets or appliances. This creates a balanced look and makes the space more useful. Don’t put it too close to walls, as it can block the way.
Think about sight lines when designing. The island should be seen from important areas, like the dining or living room. This makes it a key feature while keeping the space open. Proper placement also makes it easy to move around.
Balance open areas with useful zones. Make sure there’s room for seating and storage without making the floor plan too crowded. This way, your space works for cooking and entertaining.
Finally, think about adding extras. Stools or shelves can make the island more useful while keeping its design sleek. With careful planning, your island waterfall can be the heart of your home.
Balancing Functionality with Bold Design
Incorporate seating, storage, and service areas to maximize usability. Built-in stools, hidden compartments, and strategic appliance placement create a space that’s both stylish and functional.
Budgeting and Cost Considerations
Waterfall countertops come with higher costs due to extra materials and skilled labor. Plan a realistic budget by factoring in material prices, installation expenses, and additional features. While the investment is significant, the durability and visual appeal justify the expense.
Design Inspirations: From Minimalist to Contemporary
Explore real-life examples from designers like Fuse Architects and Jessica Kelly Design. Minimalist layouts with polished quartz islands create clean, modern aesthetics, while bold veining adds drama to contemporary spaces.
Common Challenges and Solutions
Waterfall countertops are prone to chipping and cracking. Protect edges with pads, clean gently, and ensure proper installation to maintain durability. Thoughtful care ensures your island remains a stunning centerpiece.
Conclusion
A waterfall kitchen island redefines modern design, blending luxury with practicality. From material selection to installation, every detail matters. Whether you’re a DIY enthusiast or working with professionals, this trend offers endless possibilities to elevate your home.
Explore these ideas further and let your creativity shape a space that reflects your unique style.

